
Getting Started with UV: The Modern Python Project Setup Guide
UV is life changing for python projects. It's blazing fast but that's not the only thing it is known for. It is the only tool you'll need for python package management.

The life cycle of any software project regardless of the language has either all or some of the following steps:
create a project
write code — use packages to reuse code
build a distributable artifact — .exe, .zip, .whl
publish your package
run the program
Python’s main problem was till now that it lacked a comprehensive tool that did all of these. It has poetry and venv for dependency and package management, it has setuptools and distutils for making builds. Then you have a clunky requirements.txt and whole lot of custom automation to create a dev environment requirement and install/run-time requirements.
Running a python script out of the box also becomes a problem. If you are a developer and have a nice tool or hack to solve a field issue, I bet you and your field application engineers must’ve struggled to get the script running. There’s a solution for it too in uv. Web devs please don’t come at me saying — oh but we can just ship a docker image! I’m talking about systems where it’s clunky automation like embedded systems, manufacturing and production software with limited resources for containers.
I think these are enough reasons for you to dive into the article and check out the features.

Installing uv
There are multiple ways you can install uv depending on your platform:
Mac/linux:
curl -LsSf https://astral.sh/uv/install.sh | sh
My favorite method is to install it via homebrew 🍺 on mac.
brew install uv
Windows:
powershell -ExecutionPolicy ByPass -c “irm https://astral.sh/uv/install.ps1 | iex”
Installing python via uv
Great now that you have uv, you can install python via uv. This is great because you don’t have to keep track of the path of each python version installed and one which you are using for the project. You can simply pin or invoke things with specific python version using uv. It also installs all the managed versions in a central location depending on the os platform.
You can simply run:
uv python install 3.12
Suppose you are working on two different projects with different python versions you can do so by:
uv python install 3.14
You can query all the python versions installed and managed by uv on your system:
uv python list --only-installed --managed-python
it should look something like this:

Create a project with uv
This is the best part of uv. A few commands and you are ready to write code and build the whl file. The secret is in part because of python’s adoption of pyproject.toml. What is pyproject.toml? It’s a configuration file that serves as a central hub for defining project metadata, build system configurations, and tool-specific settings. It’s a TOML file. The main advantage is it’s a single file and no more multiple tool specific .ini files like mypy.ini, pytest.ini etc. TOML is similar to an ini file in the sense of human readability and similar to json/yaml in terms of semantics for parsing.
Ok so back to creating a project. You can simply type the command and it will create a directory and start a project:
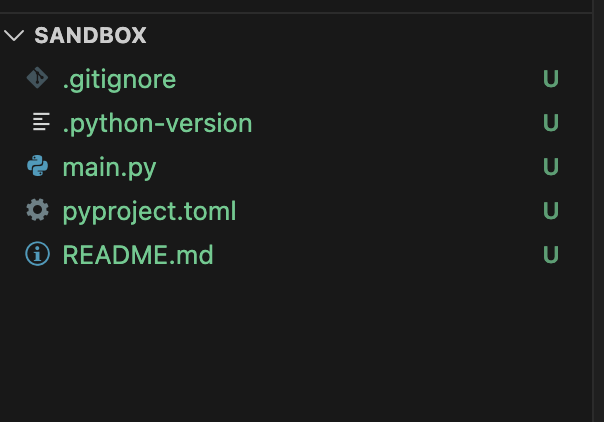
uv init sandbox
You can see the sandbox folder and following files are created in it:
Now you can go ahead and create a virtual environment using:
uv venv
Great! now let’s write some code. Let’s say my code is to fetch a stock price from yfinance. I can simply add the dependency like so:
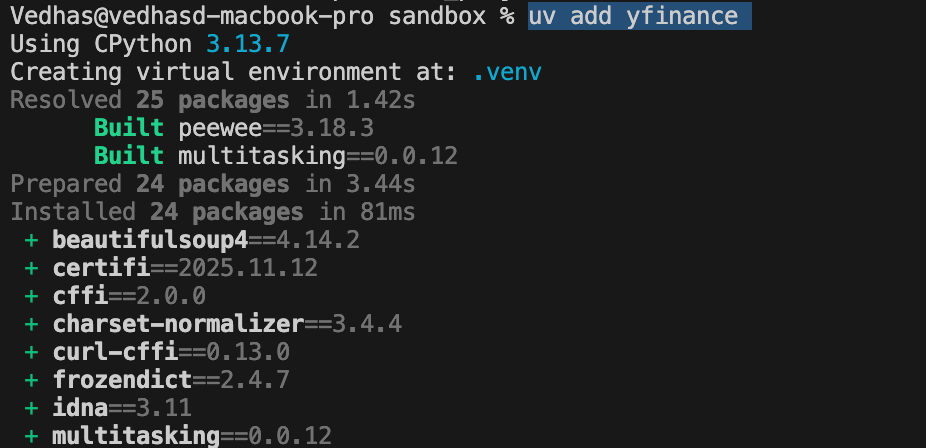
uv add yfinance
In the screenshot below, I forgot to create a virtual environment first. You can see it created a venv and added the package to pyproject.toml too.
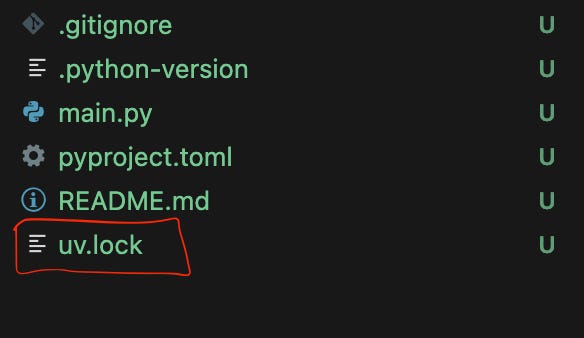
If you notice, it will create a lock file too. A lock file is a file that has all the direct and indirect dependency versions resolved and recorded. It’s helps reproduce the exact environment.
This was about creating a project using uv. What if you started working on a project that’s already using uv natively? Well you can simply clone the repo and jump into the folder and type:uv sync
It will install all the dependencies and you’ll be ready to write your code.
One thing I forgot to mention is that uv also maintains pip interface compatibility. Meaning if you still prefer your requirements in the requirements.txt file you can simply run the following to experience the uv speed:uv pip install -r requirements.txt
Build a package
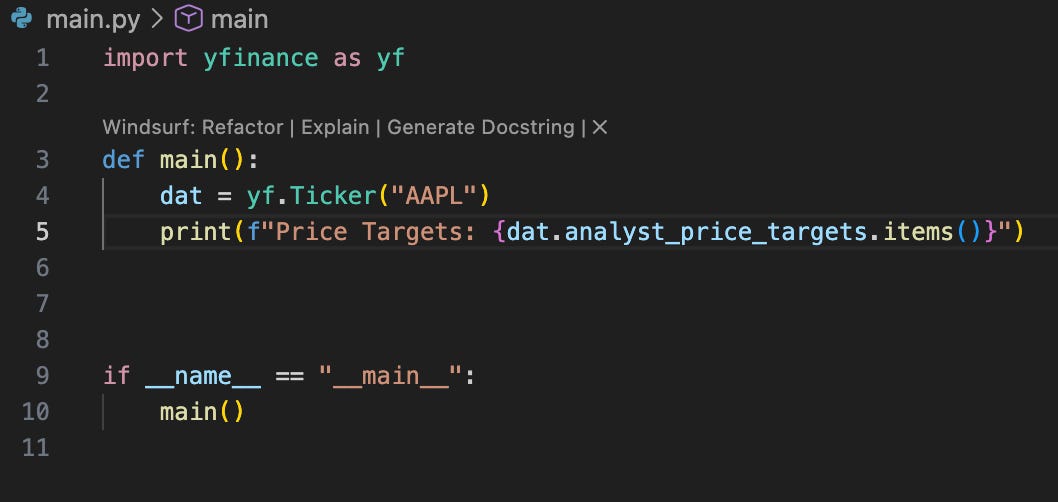
Ok let’s write some code now. For this example I’m getting analyst price targets for AAPL stock and simply printing them:
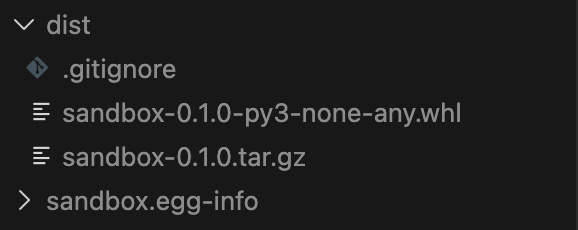
All the required meta data for build is in the pyproject.toml file. The meta data consists of version, name, description etc. To build a package simply run:
uv build
At the end you’ll have a .whl file which can be published or be used by some other projects to reuse your code.
If you are looking for a standalone executable like .exe or macOS package then you can use pyinstaller in conjunction with uv. If you want to run it once just to create an installer without adding the dependency to the project you can do like so:
uvx pyinstaller --onefile --windowed --name <app_name> <your_script.py>
Run a program
One of the cool things uv does is, it makes it easy for python programs to run. This sounds funny, but one of the pain points of python is that you need the same environment i.e the dependencies for a script using them to run. As I said web developers can come back saying — Oh but you can simply mount a docker image and run the app! That’s good for them, but I‘ve been in environments that have limited resources and are relatively old that running a container puts a strain on the system. Think test environments like embedded, aerospace and medical systems. As long as you’re able to get uv installed and it has access to a pypi index-url, may it be a company hosted mirror you’ll be able to harness benefits of uv runner.
Ok so if you are in a project and simply want to run the script from inside the project environment you can simply run like so:
uv run main.py
The above command can also run the script in standalone mode if it’s only using the built-in packages. As long as you’ve python and uv on your target system you can run the script without any venv or project creation.
What if you’ve dependencies in the script? Uv provides a way to make a script standalone. All you have to do is add the dependencies in the script header itself.
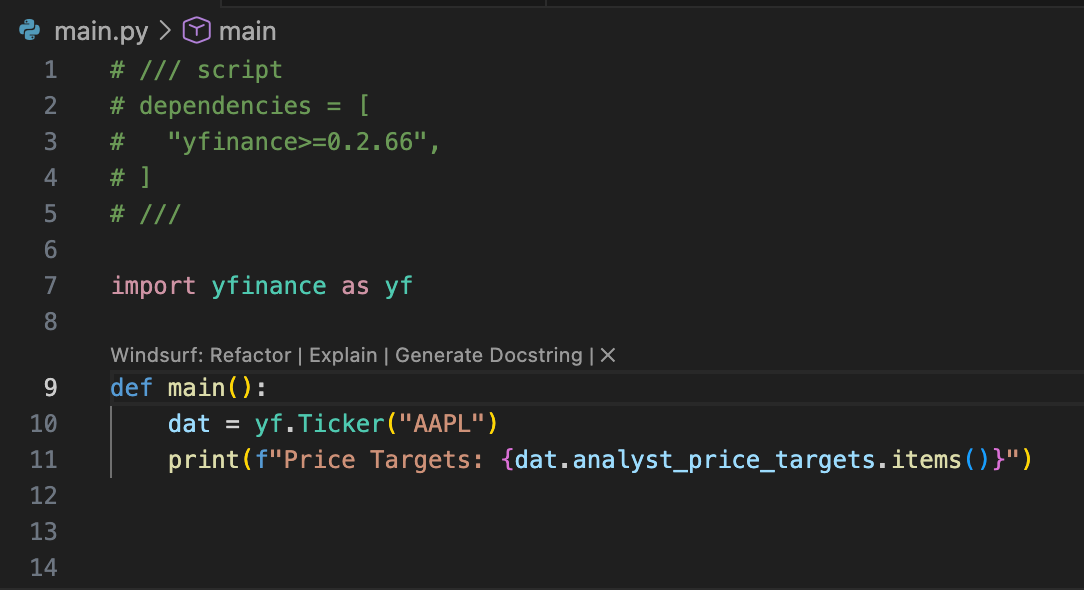
Here you can see I added the yfinance dependency in the comments in script header. Just add it as comments before the imports.
You now simply run the script uv run main.py without the need of installing the dependency manually. You can see that uv downloaded the package and ran the script in an isolated environment in my terminal screenshot:

Also if you observe, I am running the script from outside the project path so it has no knowledge of project environment.
Another cool feature that I discussed in the build section is running something once without installing it or adding it in your project dependencies. Like pyinstaller which is only ever needed for creating an installer and you don’t want it to pollute your dependencies. You can simply run them using:
uvx pyinstaller --onefile --windowed --name <app_name> <your_script.py>
Conclusion
In the course of this article we went over the common life cycle of a python software project using uv. It’s easy, fast and streamlined with this approach. It’s less tools you need to learn of and more things you can do with single tool and its infrastructure. If you haven’t made changes yet don’t be afraid of it, give uv a spin.
You can visit the uv’s official documentation here.